Photographs hold a power that goes beyond paper and pixels. They capture family history, preserve cultural memory, and give us tangible connections to moments that may otherwise fade away. Yet many old prints, slides, and negatives suffer the effects of time—discoloration, fading, scratches, or physical damage. Without intervention, these flaws can permanently erase details that carry immense emotional and historical value. Repairing and enhancing damaged photograph is not just about cosmetic improvement; it is about preservation, storytelling, and ensuring that treasured images remain accessible for generations.
Why Restore Old Photos
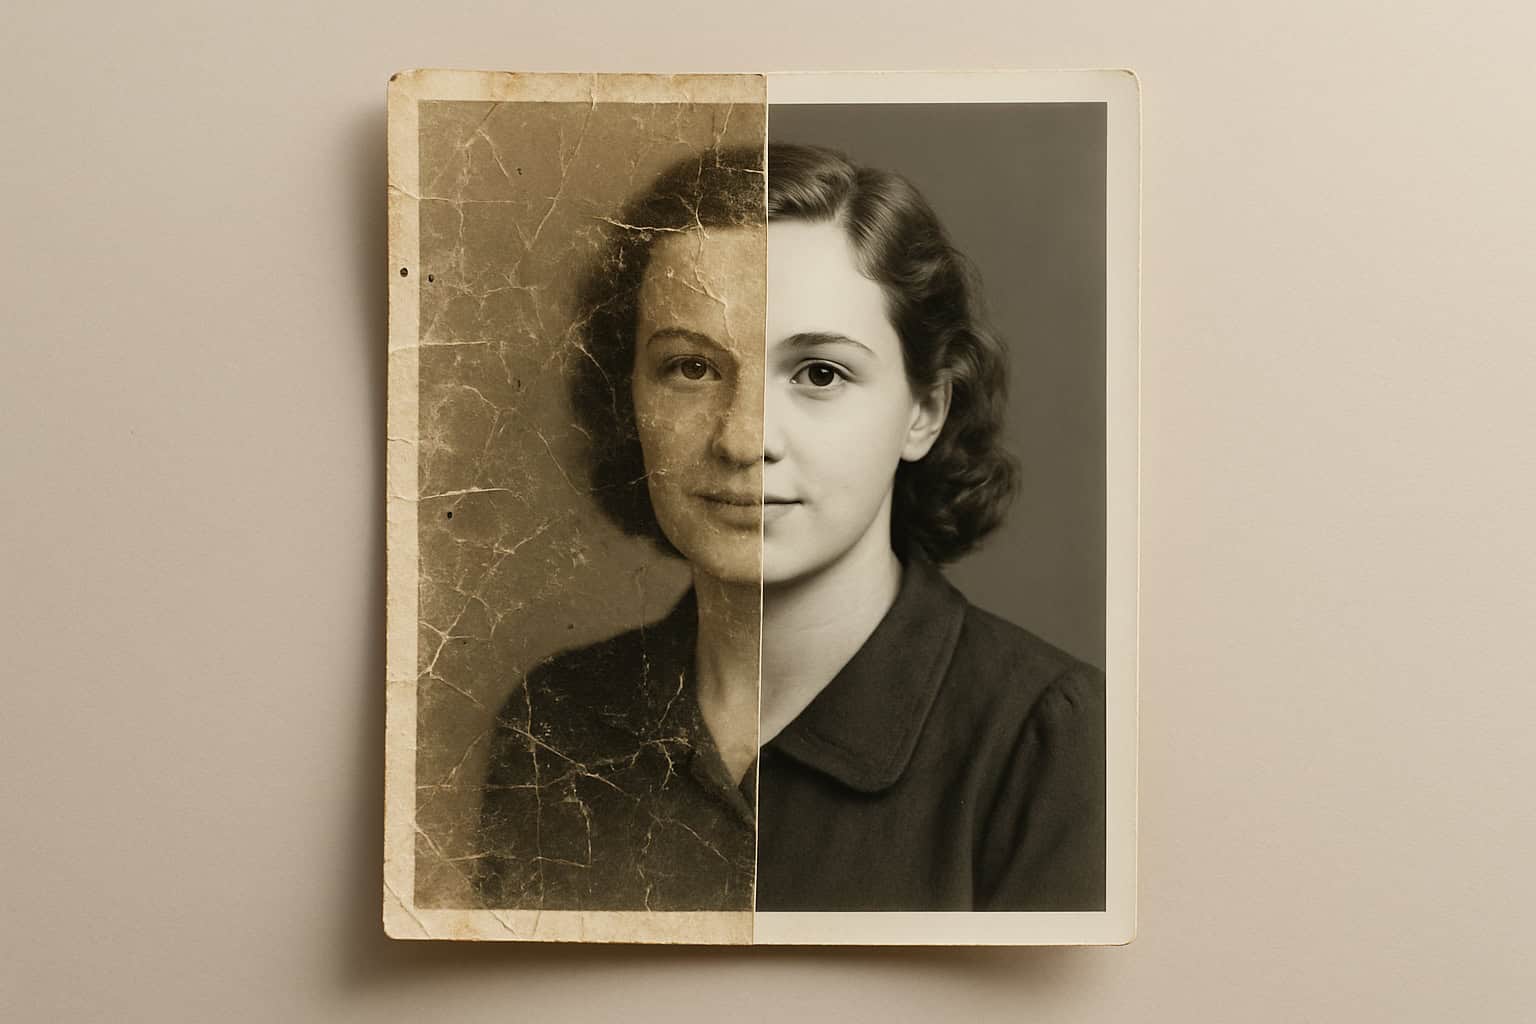
The central reason to restore old photos lies in preservation. Paper prints and negatives deteriorate over time due to light exposure, humidity, and chemical instability. Colors may shift, black-and-white images may fade into gray, and physical wear such as creases or tears can obscure important details. Restoration can rescue fading facial expressions, bring clarity to a cherished family portrait, or reveal forgotten features in a historical document.
For families, editing keeps heritage alive. A faded wedding portrait from the 1970s can be revived for an anniversary or shared digitally with future generations. For institutions, restoration helps archives, museums, and schools safeguard historical images. Beyond aesthetics, restoration allows photos to be digitized and shared, ensuring that valuable moments are no longer limited to fragile originals tucked away in a drawer.
Common Problems and Fixes
Most old photos exhibit a predictable set of issues, and knowing how to apply photo restoration techniques is key. Fading and discoloration are among the most common. A once-vibrant print may appear yellowed or washed out. Adjusting white balance or RGB channels can restore natural tones.
Scratches and tears from handling or storage can be fixed with cloning, healing brushes, or AI-powered tools. Dust and mold spots require precise spot editing to avoid losing details. Noise and film grain, particularly in older images, can be reduced with denoise filters—though restraint is important. Over-editing can create unnatural, overly smooth textures that detract from authenticity.
When multiple issues exist, sequence matters. Global adjustments such as exposure or color balance should be corrected first. Local fixes like scratch removal should come later, ensuring that all small edits blend naturally into the corrected base image.
Tools and Software Options
Restoring old photos no longer requires a professional studio. There are photo restoration software options for all levels.
-
Mobile apps: Snapseed or Remini are excellent for quick, AI-driven fixes.
-
Free desktop tools: GIMP offers strong cloning and healing functions with plugins for added power.
-
Professional software: Adobe Photoshop remains the most versatile choice, with precise non-destructive tools and layering.
-
AI tools: Topaz Photo AI and Photoshop’s neural filters can upscale, denoise, and reconstruct details in seconds.
For best results, begin by scanning or photographing originals at high resolution (ideally 600 dpi). Save a master in TIFF or PSD, then work on a duplicate. Non-destructive formats prevent loss in quality and allow multiple editing attempts.
Emotional and Historical Value
Editing old photos is not just technical—it’s deeply personal. A restored photo can mean the difference between an indistinct blur and the recognizable face of a grandparent. Restorations often spark conversations, help families trace genealogies, and even reconnect people to forgotten places.
From a historical perspective, photo preservation contributes to cultural memory. Restored images allow researchers to identify clothing styles, shop signs, or urban layouts that may have been lost in faded originals.
Ethical care is essential. Restorers should avoid erasing historically significant marks such as stamps or handwritten notes. Metadata should be added to digital files—captions, dates, and locations—so that the context of the image remains intact. In this way, editing enhances clarity while safeguarding authenticity.
Restoration Workflow and Best Practices
A structured photo restoration workflow makes the process reliable and efficient:
-
Triage: Sort photos by condition and importance.
-
Digitize: Scan at high resolution (600 dpi, 16-bit color where possible).
-
Backup: Save masters in multiple locations.
-
Global corrections: Adjust exposure and color first.
-
Local fixes: Repair scratches, tears, and blemishes.
-
Sharpen and finish: Add final contrast, clarity, or detail.
-
Archive and export: Save masters as TIFF/PSD and export JPEGs for sharing.
Good file management is critical. Use descriptive names (e.g., “Wedding1975_master.tiff”), maintain multiple versions, and log edits for transparency. For large collections, batch presets and automation tools can save time without sacrificing quality.
Preserving Memories for the Future
Editing old photos is more than just a technical exercise. It transforms faded, damaged prints into vibrant, viewable images and safeguards both family heritage and cultural history. Each restored old photo is a bridge between the past and the present—an emotional anchor and a valuable record.
Whether using quick mobile apps or advanced professional tools, the principles remain the same: digitize, restore, preserve, and share. Done carefully, photo editing ensures that memories endure, stories remain visible, and history continues to inspire future generations.
Write Your First Comment